Blood Lab Carry Bodies & Players
Move casualties with G and tap Q — without dragging a wipe through your own crossfire.
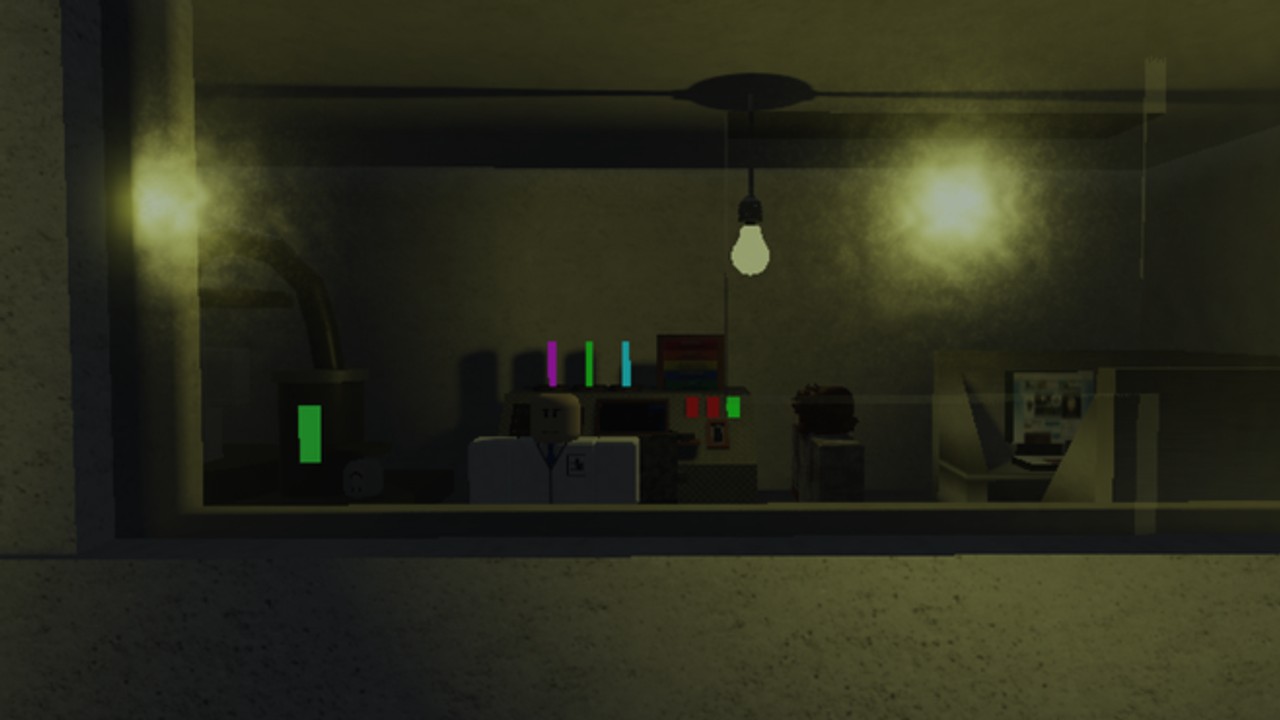
In Blood Lab (BloodLab Testing), GetRich Studios exposes a dedicated carry loop: G picks up a body or player, and a single tap of Q drops what you are carrying. That sounds simple until you try it in a 4-player lobby where friendly fire is always on, infected pressure continues, and nobody passively regenerates HP. This guide turns carry into a repeatable squad skill instead of a panic button that walks a corpse through three muzzles.
Read alongside controls, players, how to heal, and getting started.
Why carry matters in a hardcore lab
Tiny servers make every downed ally expensive. Leaving someone where they fell can:
- Block a doorway your squad still needs.
- Attract more pressure to a bad angle.
- Waste a bandage cycle because the cracked player cannot reach cover.
- Force a messy revive-adjacent scramble while rifles stay hot.
Carrying relocates the problem to cover, a heal cache, or a clearer room. It does not replace bandages — there is still no passive regen — but it lets triage happen somewhere that is not the kill zone.
The bind loop (memorize it cold)
| Action | Input | Notes |
|---|---|---|
| Pick up body / player | G | Confirm you are looking at the intended target |
| Drop what you carry | Tap Q once | Distinct from hold Q lean |
| Lean left / right | Hold Q / E | Do not confuse hold-lean with tap-drop |
| Crouch while escorting | C | Lowers profile; watch ally barrels |
| Sprint relocates | Shift | Only when the lane is called clear |
The most common self-inflicted mistake is treating Q as one button with one meaning. Hold leans. Tap drops. Practice the difference in a quiet lobby before a public fill — see the full map on controls.
Pre-carry checklist (10 seconds that save the wipe)
- Call the carry: “picking up Maya, moving to back room.”
- Assign a rear guard — ideally one rifle not dry.
- Muzzle discipline: everyone else goes semi or holds fire toward the escort path.
- Know the drop spot before you lift — cover, bandage spawn adjacency, or a corner with two exits.
- Check your own HP and bandage count. Carrying while you are cracked without a plan creates a double down.
If the lobby cannot spare a guard, a solo carry across open ground is often worse than holding the body in place and clearing first.
Escort patterns that work in 4-stacks
Pattern A — Short drag to cover
- Guard pins the threat lane.
- Carrier G lifts, walks the shortest covered path.
- Tap Q drop behind hard cover.
- Immediate bandage triage (how to heal).
- Both reload (R) before re-peeking.
Pattern B — Chain rooms
- Clear room 1 fully.
- Carry only to the threshold of room 2.
- Drop, re-clear, then continue.
- Never haul a body through uncleared fog, spore haze, or stacked doorways — see spore zones when hazards are present.
Pattern C — Abort
- Contact spikes mid-carry.
- Tap Q immediately so you can shoot or lean.
- Do not “finish the walk” through active tracers.
- Re-acquire after the lane cools.
Friendly-fire traps unique to carrying
- Silhouette confusion: a carried body plus two movers looks like a blob; panic AR fire hits allies.
- Doorway stacking: carrier + guard + third peeker in one frame is a classic team-kill sandwich.
- Drop-lean mixup: holding Q to “adjust” instead of tapping to drop leaves you stuck in lean while still burdened.
- Reload greed: stopping mid-hall to R without cover while carrying invites a wipe; drop first if you must reload under pressure.
Announce “dropping” every time so muzzles lift. Review co-op culture on the players hub.
Bodies, loot, and Gamepass temptation
Carrying is about positioning people (and bodies) for the next decision. It is not an excuse to ignore food (~2 min) or bandage (~3 min) clocks from survival basics. A Gamepass gun from the gamepasses guide does not make escorts safer if your stack still sprays the carrier.
When you graduate toward The Last Of Blox, the same discipline applies during house raids and ally rescues — plus SAFE deposit habits so recovered loot survives the session end.
Drill plan (five minutes)
- Private lobby: pick up, walk ten steps, tap-drop, repeat until Q-tap is automatic.
- Add a friend as moving cover; practice callouts.
- Introduce a fake “contact” mid-carry and abort drop.
- Finish with a bandage triage after drop.
- Only then queue public.
Related pages
- Controls — full key reference
- Players hub — callouts and squad roles
- How to heal — post-drop triage
- Survival basics — when not to rotate
- Weapons guide — muzzle awareness while escorting
Live experience: BloodLab Testing.
Carry checklist
- G pick-up confirmed on correct target
- Rear guard assigned
- Drop spot chosen before lifting
- Squad on semi / holding fire along path
- Tap Q drop distinct from hold-Q lean
- Bandage plan ready after drop
- Abort drop practiced under fake contact
Frequently Asked Questions
Quick answers for Blood Lab survivors.
How do I carry a body or player in Blood Lab?
Press G to pick up, then tap Q once to drop. Do not confuse tap-drop with hold-Q lean.
Should I carry alone?
Only for very short covered moves. In a 4-player friendly-fire lobby, assign a rear guard whenever the path is exposed.
What if we take contact while I am carrying?
Tap Q to drop immediately so you can shoot, lean, or reload. Finishing a long haul through active fire causes most escort wipes.
Does carrying heal the player?
No. There is no passive regen. Carry relocates someone to cover so bandages can be used safely.